How to use Zap In on the Krystal Wallet App
October 7, 2026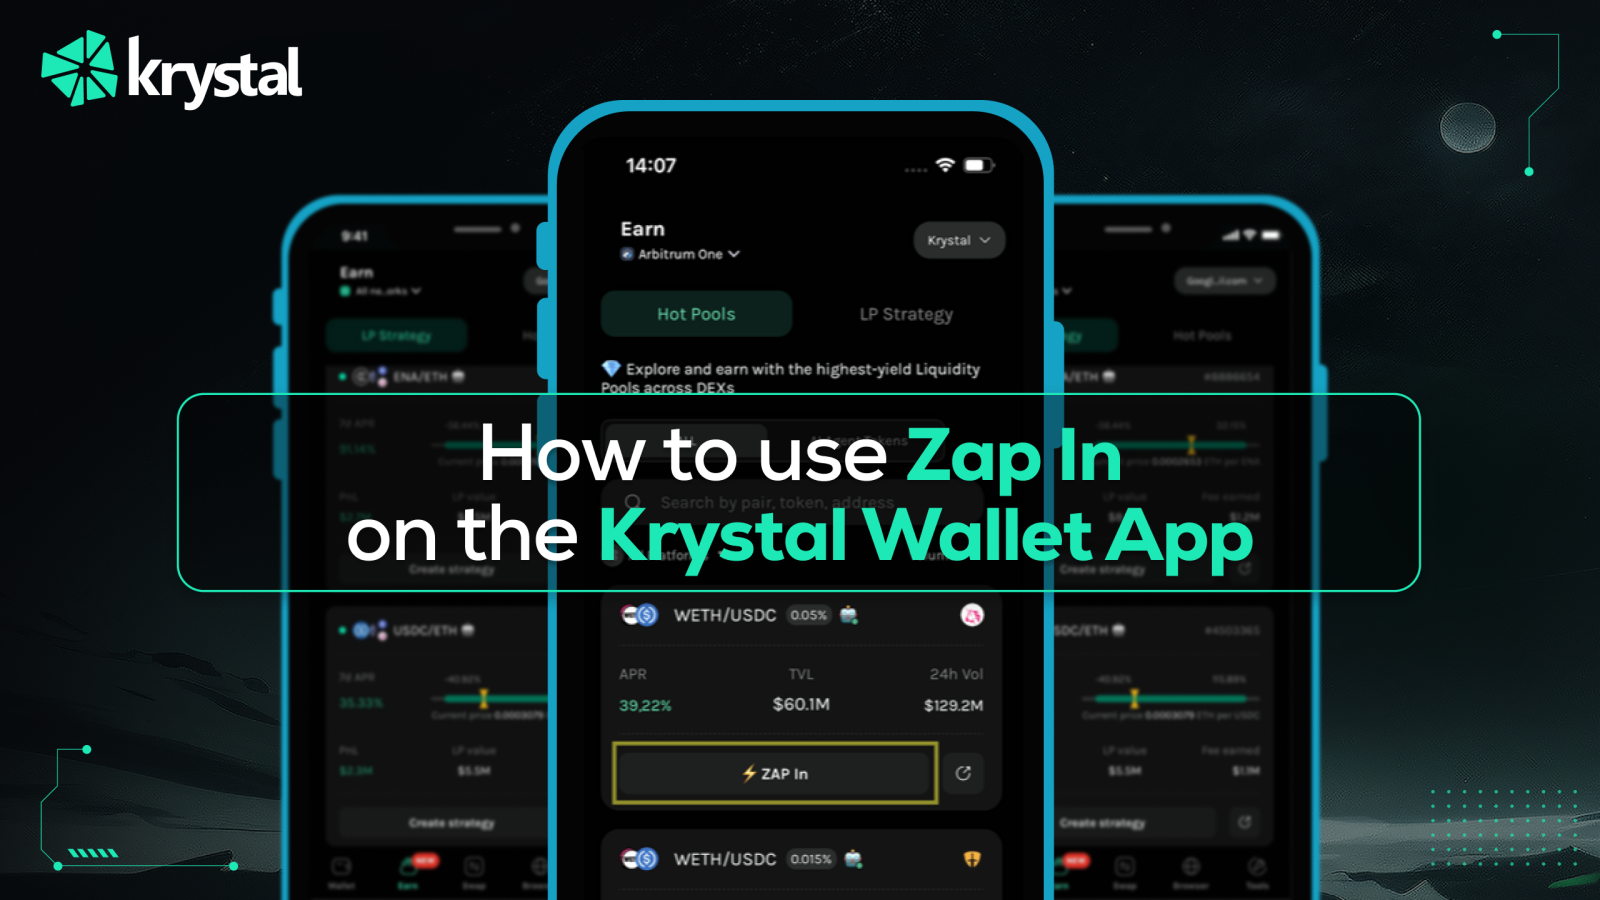
Providing liquidity in DeFi can sometimes feel complicated, especially when a liquidity pool requires two different tokens. Krystal Wallet’s Zap In feature simplifies this process by allowing users to add liquidity using a single token instead of manually preparing both assets.
In this guide, we’ll explain how to use Zap In on the Krystal Wallet App, from selecting a liquidity pool to confirming and monitoring your position.
What Is Zap In on Krystal Wallet?
Zap In is a liquidity-provision feature that simplifies the process of adding funds to a liquidity pool. Instead of manually swapping tokens and balancing the required assets, users can deposit a single token.
Krystal Wallet handles the required conversion and prepares the assets needed for the selected liquidity position.
This can make liquidity provision more convenient, particularly for users who are new to decentralized finance.
How to Use Zap In on Krystal Wallet
Step 1: Choose a Liquidity Pool
First, open the Krystal Wallet App and go to the Earn section.
Select the blockchain network where you want to provide liquidity. Depending on the version and supported services, available networks may include networks such as Ethereum and Solana.
Next, browse the available liquidity pools. You can explore popular pools or use available filters to find a suitable option.
You may be able to compare pools using factors such as:
-
Platform or decentralized exchange
-
APR
-
Trading volume
-
Total Value Locked (TVL)
-
Token pair
If you already know the pool you want to use, you can search using a token pair, token address, or pool address where supported.
Once you find the pool you want, tap on it to continue.
Step 2: Select “Zap In”
After opening your preferred liquidity pool, look for the Zap In option.
Tap Zap In to open the Add Liquidity screen.
This is where you can configure your liquidity position, including your position range, deposit token, and deposit amount.
Step 3: Choose Your Position Range
The next step is selecting the Position Range for your liquidity.
Krystal Wallet may provide several predefined range options, such as:
-
Narrow Range: A tighter range designed to concentrate liquidity but may require more frequent management.
-
Wide Range: Provides more flexibility and can reduce the need for frequent adjustments.
-
Full Range: Covers the entire available price range but may have different capital-efficiency characteristics.
You can also manually set a Minimum Price and Maximum Price if you want to create a custom range.
The right range depends on your liquidity strategy, risk tolerance, and expectations about the asset pair.
Step 4: Select the Deposit Token and Amount
One of the main benefits of Zap In is that you can start with a single token.
Select the token you want to deposit and enter the amount.
The app will process the information and calculate how your deposit can be converted into the assets required by the liquidity pool.
Before continuing, carefully check the displayed output tokens and amounts. These represent the assets that will ultimately be deposited into the pool.
Step 5: Review Slippage and Network Fees
Before confirming your Zap In transaction, carefully review the important transaction parameters.
Swap Slippage
Swap Slippage represents the amount of price movement you are willing to accept during the token conversion.
A lower setting can provide more protection against unexpected price changes but may increase the possibility that the transaction fails.
Deposit Slippage
Deposit Slippage relates to the liquidity deposit itself. It helps control how much variation is acceptable when the assets are added to the pool.
Network Fees
You should also review the estimated network or gas fees.
Transaction costs can vary depending on network congestion. If fees are unusually high, you may want to consider waiting for more favorable network conditions.
Step 6: Review Auto Rebalance
Krystal Wallet may also provide an Auto Rebalance option.
Before proceeding, check whether Auto Rebalance is enabled or disabled and make sure the setting matches your intended strategy.
If you prefer to maintain manual control over your liquidity position, you can leave the feature disabled where the option is available.
Step 7: Confirm Your Zap In Transaction
Once you have reviewed all the details, tap Zap In to proceed.
You will be taken to the Add Liquidity Summary screen.
Take a final look at:
-
Input token
-
Input amount
-
Deposit tokens
-
Deposit amounts
-
Minimum and maximum price
-
Swap slippage
-
Deposit slippage
-
Network fees
-
Auto Rebalance settings
If everything looks correct, confirm the transaction through your wallet.
Step 8: Monitor the Transaction
After confirming the transaction, you can monitor its status on the blockchain.
Krystal Wallet may provide a Transaction Hash (TxHash) or an Open Explorer option. You can use the relevant blockchain explorer to check whether the transaction has been confirmed.
If the transaction remains pending, network congestion or insufficient gas settings may be factors.
Avoid making repeated transactions while the original transaction is still pending unless you understand exactly what is happening.
Step 9: View Your Liquidity Position
Once the transaction is successfully completed, you can select View Position to see your liquidity position.
You can also navigate to:
Wallet → Liquidity → Your Position
The Position Detail screen can provide information such as:
-
Position value
-
Profit and loss (PnL)
-
Pool metrics
-
Liquidity position details
-
Other relevant performance information
This allows you to monitor your position after completing the Zap In process.
Benefits of Using Zap In
The Zap In feature can make liquidity provision more straightforward because users do not necessarily need to manually acquire and balance both tokens required by a liquidity pool.
Some potential benefits include:
-
Single-token deposits: Start with one supported token.
-
Simplified liquidity provision: Reduce the number of manual steps involved in preparing a liquidity position.
-
Custom position ranges: Choose predefined or customized price ranges where supported.
-
Transaction monitoring: Track the transaction and view the resulting liquidity position.
-
DeFi accessibility: Provides a simpler interface for users who want to participate in liquidity pools.
Things to Check Before Using Zap In
Although Zap In simplifies the process, providing liquidity still involves risks. Before confirming a transaction, consider the following:
-
Understand the liquidity pool and the assets involved.
-
Check the current pool conditions and available APR.
-
Review swap and deposit slippage.
-
Check network fees.
-
Make sure you have enough funds for the transaction and applicable fees.
-
Carefully verify your selected position range.
-
Understand the risks associated with concentrated liquidity.
-
Never share your wallet's private key or recovery phrase.
APR and other pool metrics can change over time, so historical or displayed returns should not be considered guaranteed future returns.
Final Thoughts
Krystal Wallet's Zap In feature provides a simpler way to add liquidity to supported pools. Instead of manually preparing both assets in a liquidity pair, users can select a single deposit token, choose a position range, review the transaction parameters, and confirm the liquidity deposit.